Edit an Author Profile Using PublishPress Authors
Table of Contents
Introduction
This article explains how to edit an author profile using PublishPress Authors.
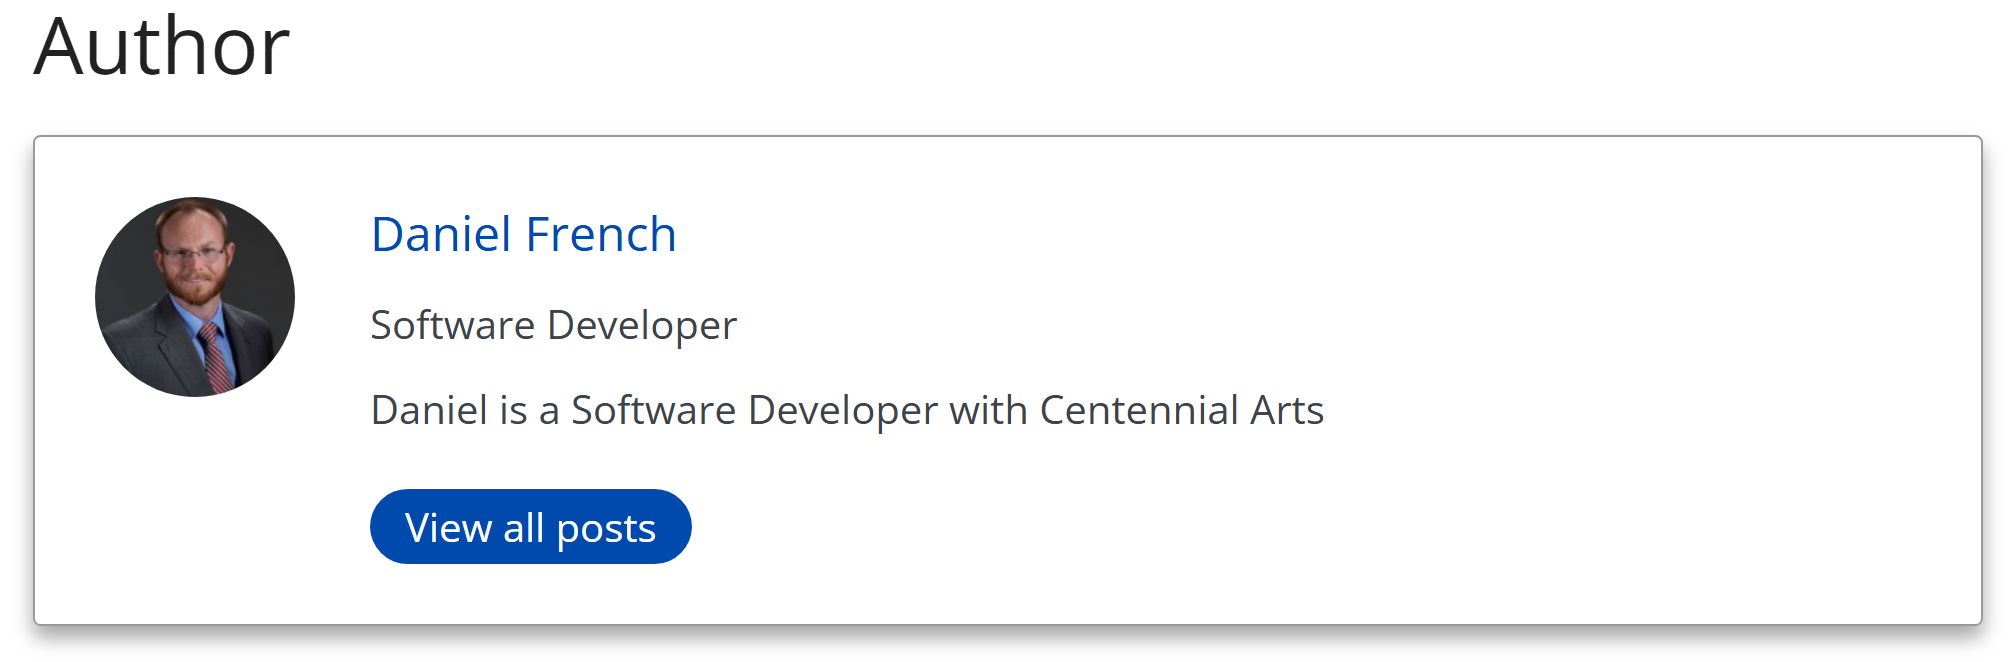
Once an author profile has been created in PublishPress Authors, authors can log in to their WordPress account and update their own public information. This includes details like display name, job title, biography, and profile image. These updates will be shown wherever your author profile appears on your site.
Step 1: Log In to Your WordPress Account
- Go to your site’s WordPress login page.
- Enter your username and password.
- Click Log In.
Step 2: Open the Author Profile Page
- From the WordPress dashboard menu, click Author Profile.
- The profile editing screen will open. It has two tabs: General and Avatar.
Step 3: Update the General Tab
Under the General tab, you can edit the following fields:
- Display name publicly as – Choose how your name will appear on your profile and posts.
- Author URL – A custom URL for your author page if set by the site.
- Author Category – If enabled, choose the category that best fits your work.
- First Name – Your given name.
- Last Name – Your family name or surname.
- Job Title – Your professional title or role.
- Biographical Info – A short bio about yourself. This appears in your author box and can help readers connect with you.
Click the Update button when when you are finished editing.
Step 4: Update the Avatar Tab
- Click the Avatar tab.
- Choose between:
- Default Avatar – Uses the site’s default avatar for authors.
- Custom Image – Upload or select an image from the media library to be used as your profile picture.
- If using a custom image, make sure it is clear, high-quality, and represents you professionally.
Click Update.
Next Steps
Once your profile is updated, it will automatically appear in your author box on posts you have authored.
To learn how to connect your profile to a post, see the next article in this series: Assigning Authors to a Post in PublishPress Authors.